
I’m a big Linux fan, been using it since 1999 when I first bought a Red Hat Linux for Dummies book which came with an install disk in the back. Things have changed dramatically in the Linux world since then, maybe most dramatically in the fact that you can now install the bash shell in Windows 10.
In this blog post I’ll show you how to install WSL, which gives you a bash terminal running Ubuntu on your Windows 10 machine. After that, look for Part 2 where I show you how to transition it to Debian 9!
Just a note: At the time I’m writing this, the current latest version of Windows 10 still hides a few of these options from the normal user. I’ll give the steps as they are today, but in the future you may be able to skip a few steps. For example, installing Ubuntu is going to be an option directly from the Windows Store, instead of going through the control panel steps.
Look for the store link for Ubuntu here:
https://www.microsoft.com/store/p/ubuntu/9nblggh4msv6
Also coming soon will be Windows Store packages for Fedora (no link yet), openSUSE and SLES!
What you need:
- Windows 10
- Internet Connection
- A little bit of time
Part 1: Installing Ubuntu on WSL
- Click start, and click the Cog icon to open the Windows Settings app.
- Open “Update and Security”
- On the left side open “For developers”
- Put a dot in “Developer Mode” (Note: this won’t be required in future updates of Windows, but currently still is)
- If it makes you reboot, go ahead and do that, then log back in.
- Click Start, type Control Panel and hit enter.
- Make sure the View By in the upper right is Large or Small Icons, then open “Programs and Features”
- In the upper left click on “Turn Windows features on or off”
- Check the box for “Windows Subsystem for Linux (Beta)” then click OK. It probably won’t say Beta in future updates.
- It should install some stuff and ask you to reboot. Go ahead and do that.
- Next, open a command prompt (click Start -> type cmd and hit enter)
- At the command prompt type “bash” without the quotes, and hit enter.
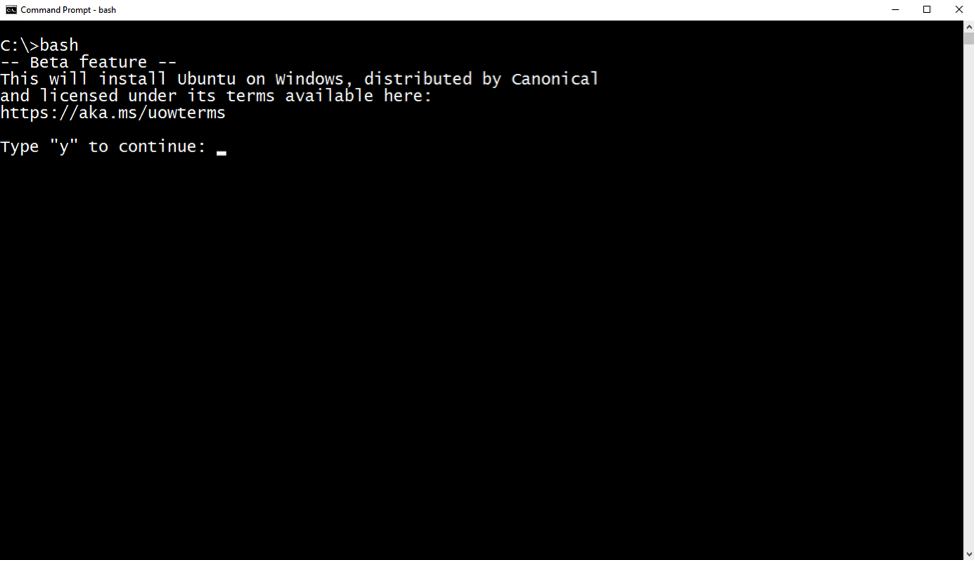
- Type y to continue, and it should download and install a small Ubuntu image.
- It will ask for a new username, so enter a username (no spaces) and choose a password.
- It should bring up an ubuntu terminal. Cool!
- Exit the Linux environment by typing exit then hitting enter.
- Enter exit again to close the Windows command prompt.
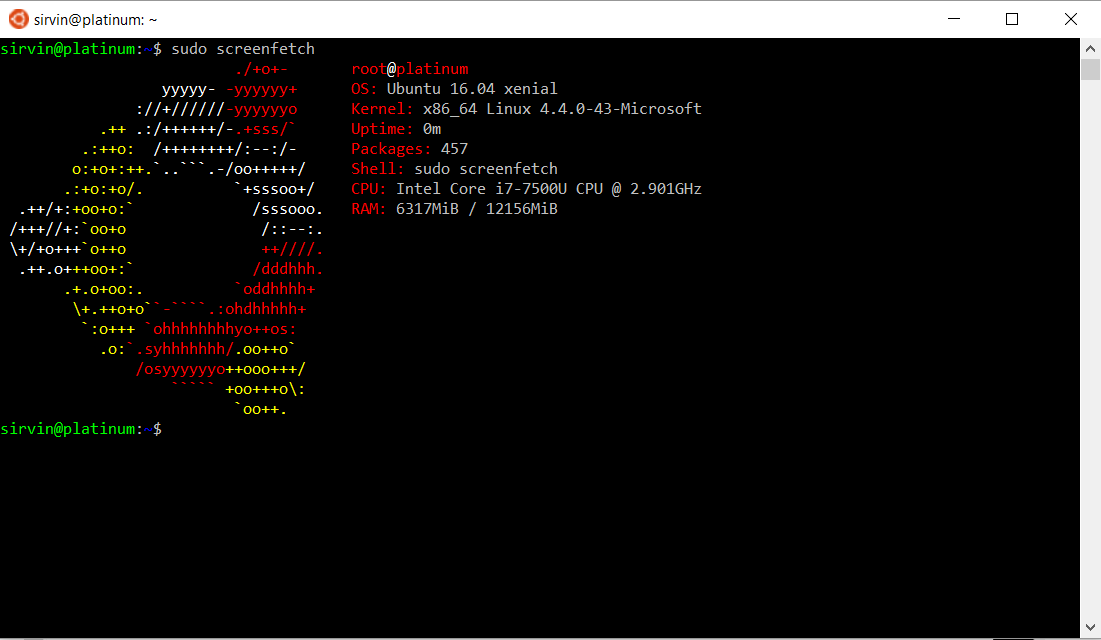
OK! So by now you’ve got Linux available on your Windows computer! You should have an icon for “Bash on Ubuntu on Windows” on your start menu to launch it, or you can bring up any command prompt or powershell and type bash to launch. If you want, you can stop right here, and you can just use Ubuntu.
If you want to switch this over to Debian, read Part 2!